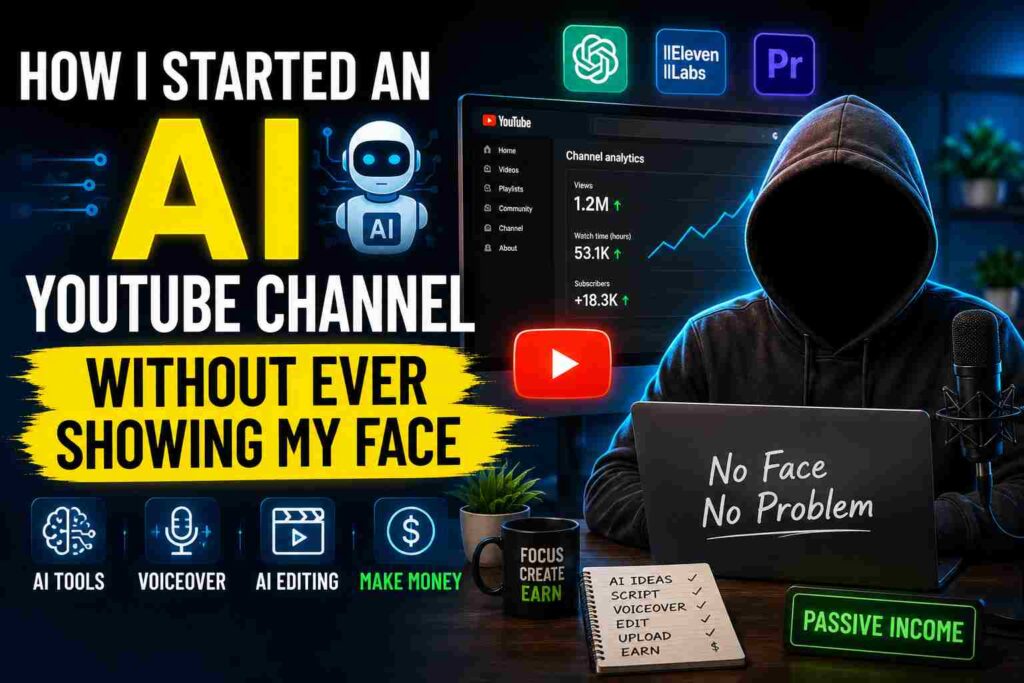
Introduction
I have always wanted a YouTube channel. But every time I thought about actually filming myself, I would close the laptop and forget about it for another six months.
It was not about confidence exactly. I just did not want to be on camera. I did not want to worry about lighting, my background, my hair, or sounding awkward on the tenth retake of the same sentence.
Then I came across a channel with over 200,000 subscribers that posted videos about strange history facts. No face. No voice that sounded like a real person reading off a script in their bedroom. Just clean visuals, a calm AI voice, and good information.
I went down a rabbit hole that night. Turns out faceless AI channels are everywhere, and a lot of them are making real money. So I decided to try building one myself.
It took me about two months to get my first channel looking decent, and I made plenty of mistakes along the way. Here is everything I learned.
Why Faceless AI Channels Actually Work
Before I started, I assumed faceless channels were some kind of loophole or low-quality spam content. I was wrong.
Some of the biggest channels in categories like true crime, history, motivation, finance, and Reddit story narration do not show a single human face. Channels like “Top Lists” style content or “Dark History” style channels have built audiences in the millions without anyone ever appearing on screen.
People watch for the content, not the creator’s face. If your topic is interesting and your video is well put together, viewers genuinely do not care who is behind it.
This also means you can run the channel with things you probably already own — a laptop, an internet connection, and some free or cheap tools.
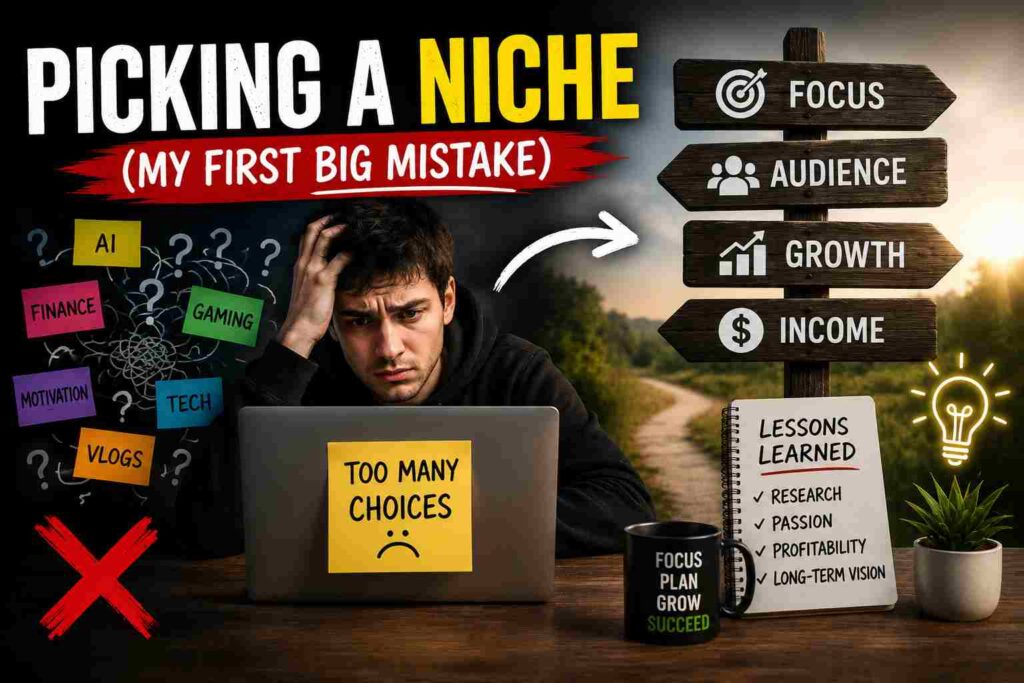
Picking a Niche (My First Big Mistake)
When I started, I picked a niche I personally found interesting — random science facts. Sounded fun to me.
Three weeks in, I realized something important. I was choosing topics based on what I liked, not what people were actually searching for or watching.
My videos got almost no views. Not because they were bad, but because the niche was too broad and too competitive, with no clear angle.
Here is what I should have done from day one — and what I eventually switched to.
Good niches for faceless AI channels:
- True crime case breakdowns
- Scary or mysterious Reddit stories (read aloud)
- Motivational speeches with calm visuals
- Personal finance tips and explainers
- History facts with a specific angle (like “forgotten royals” or “ancient mysteries”)
- Productivity and self-improvement
- Movie or book summaries
- AI tools and tech explainers (this one is growing fast right now)
The key is picking something with a clear angle, not just a broad topic. “History” is too wide. “Strange deaths of historical figures” is specific enough to actually build an audience around.
I switched to a niche around AI tools and productivity tips. Views went up almost immediately, simply because the niche was more focused and the demand was higher.
The Tools That Actually Make This Possible
This is the part people get most excited about, and honestly, it is easier than I expected. Here is exactly what I use.
1. Script Writing — ChatGPT or Claude
I start every video with a script. I give the AI a topic, the tone I want (calm, dramatic, informative, whatever fits the niche), and roughly how long the video should be.
I never use the first draft as-is. I always go through it and adjust the pacing, cut repetitive lines, and make sure the hook in the first 10 seconds is strong. YouTube videos live or die in those first few seconds.
2. Voiceover — ElevenLabs
This was the part that genuinely shocked me. ElevenLabs creates AI voices that sound incredibly natural. I tested a clip for a friend without telling them it was AI, and they assumed it was a real voice actor.
You type in your script, pick a voice (there are dozens, different tones and accents), and it generates the audio. The free plan gives you a decent amount of characters per month to start with, and paid plans are affordable once you are making money from the channel.
3. Visuals — Pictory, InVideo, or Canva
For visuals, I mainly use stock footage and AI-generated images layered together. Pictory and InVideo let you turn a script into a video automatically, matching footage to your narration. It is not perfect, but it gives you a strong starting point that you can edit further.
For thumbnails, Canva is still my go-to. A good thumbnail can make or break your click-through rate, so I spend more time on thumbnails than people expect.
4. AI Images — Midjourney or Leonardo AI
For channels in niches like history, mystery, or storytelling, AI-generated images add a unique visual style that stock footage cannot give you. I use Leonardo AI because it has a generous free tier and produces good quality images for video backgrounds.
5. Video Editing — CapCut
CapCut is free, works on both desktop and mobile, and has everything a beginner needs — captions, transitions, background music, and easy trimming. I edited my first 15 videos entirely on CapCut before I felt confident enough to try anything more advanced.
Step-by-Step: How I Make a Video From Start to Finish
Here is my actual process, video by video.
Step 1: Pick a topic based on research, not gut feeling
I check what is performing well in my niche using YouTube search suggestions and by looking at what similar channels are posting. Tools like VidIQ (free version is fine to start) show you search volume and competition for topics.
Step 2: Write the script with AI, then edit it heavily
I generate a draft script, then read it out loud myself first. If it sounds clunky when I say it, it will sound clunky in the AI voice too. I cut anything that feels repetitive or slow.
Step 3: Generate the voiceover
I paste the final script into ElevenLabs, pick a voice that fits the tone, and generate the audio. I always listen to the whole thing once before moving on, because sometimes certain words get pronounced oddly and need small script tweaks.
Step 4: Gather or generate visuals
Depending on the niche, I either pull relevant stock footage from Pexels or Pixabay (both free), or generate custom images for more unique topics.
Step 5: Edit everything together in CapCut
I sync the visuals to the voiceover, add background music at a low volume, add captions (CapCut auto-generates these, which saves a huge amount of time), and do a final review.
Step 6: Create a thumbnail that actually represents the video
I make three or four versions in Canva and pick the one that looks the clearest, even on a small phone screen.
Step 7: Write the title and description with SEO in mind
I keep titles clear and curiosity-driven without being clickbait. The description includes the main keyword naturally, plus a couple of relevant tags.
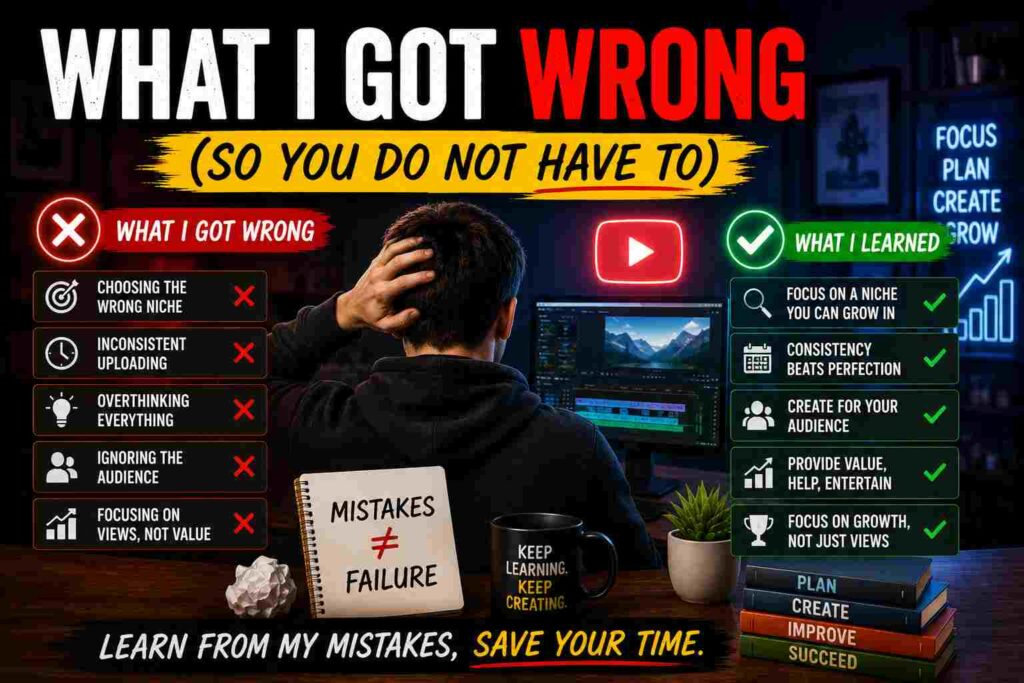
What I Got Wrong (So You Do Not Have To)
I uploaded inconsistently for the first month. I would post three videos in one week and then disappear for two weeks. YouTube’s algorithm rewards consistency, even if it is just one video a week, more than random bursts of activity.
I used the default AI voice without adjusting pacing. My early videos sounded slightly robotic because I generated the voiceover and used it exactly as-is. Going back and adjusting punctuation, adding pauses, and breaking up long sentences in the script made a massive difference in how natural the voice sounded.
I ignored audio levels. My background music was too loud in a few early videos and drowned out the narration. Always check your final video with headphones before uploading.
I copied other channels too closely. Early on, I basically mimicked the structure of a channel I liked. It felt safe, but it also meant my content blended in. Once I added my own structure and pacing style, even small things like how I opened each video, engagement improved.
How Long Until You See Real Results
I will not pretend this happens overnight, because it does not.
My first month, I had maybe 40 subscribers total. By month three, with consistent uploads (twice a week) and better thumbnails, I crossed 1,000 subscribers and started qualifying for the YouTube Partner Program after also hitting the watch hour requirement.
Monetization through ads started slowly, but a few videos that performed well unexpectedly brought in most of the early revenue. One video about an AI tool comparison did far better than I expected, simply because the topic was trending at the right time.
A Few Honest Things to Keep in Mind
This is not a “set it and forget it” situation. Even with AI doing the heavy lifting on voice and visuals, you are still the one researching topics, editing scripts, reviewing videos, and figuring out what works for your specific audience.
It also takes patience. Some videos flop for no obvious reason, and some take off unexpectedly. That part has not changed just because AI is involved.
But compared to the idea of filming myself, editing my own face for hours, and dealing with all the anxiety that came with that — this feels completely doable. I can work on this from my kitchen table in sweatpants, and nobody watching the final video would ever know.
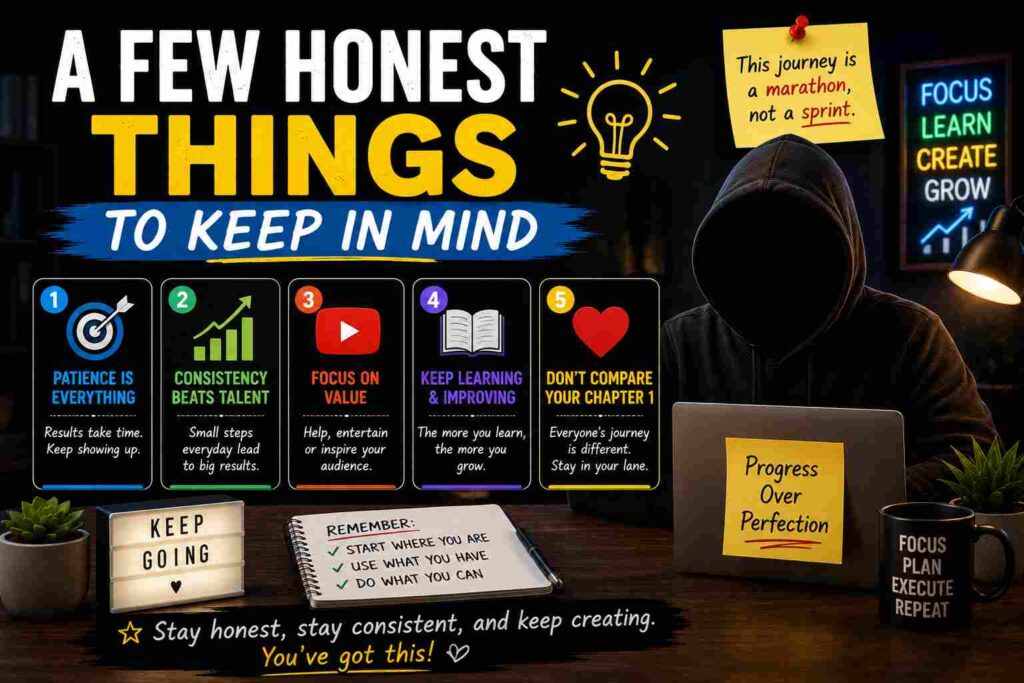
If you have been putting off starting a channel because you do not want to be on camera, that excuse genuinely does not hold up anymore. The tools exist, most of them are free or cheap to start, and the only real investment is your time and willingness to experiment.
Start with one video. See how it feels. You can always improve the next one.